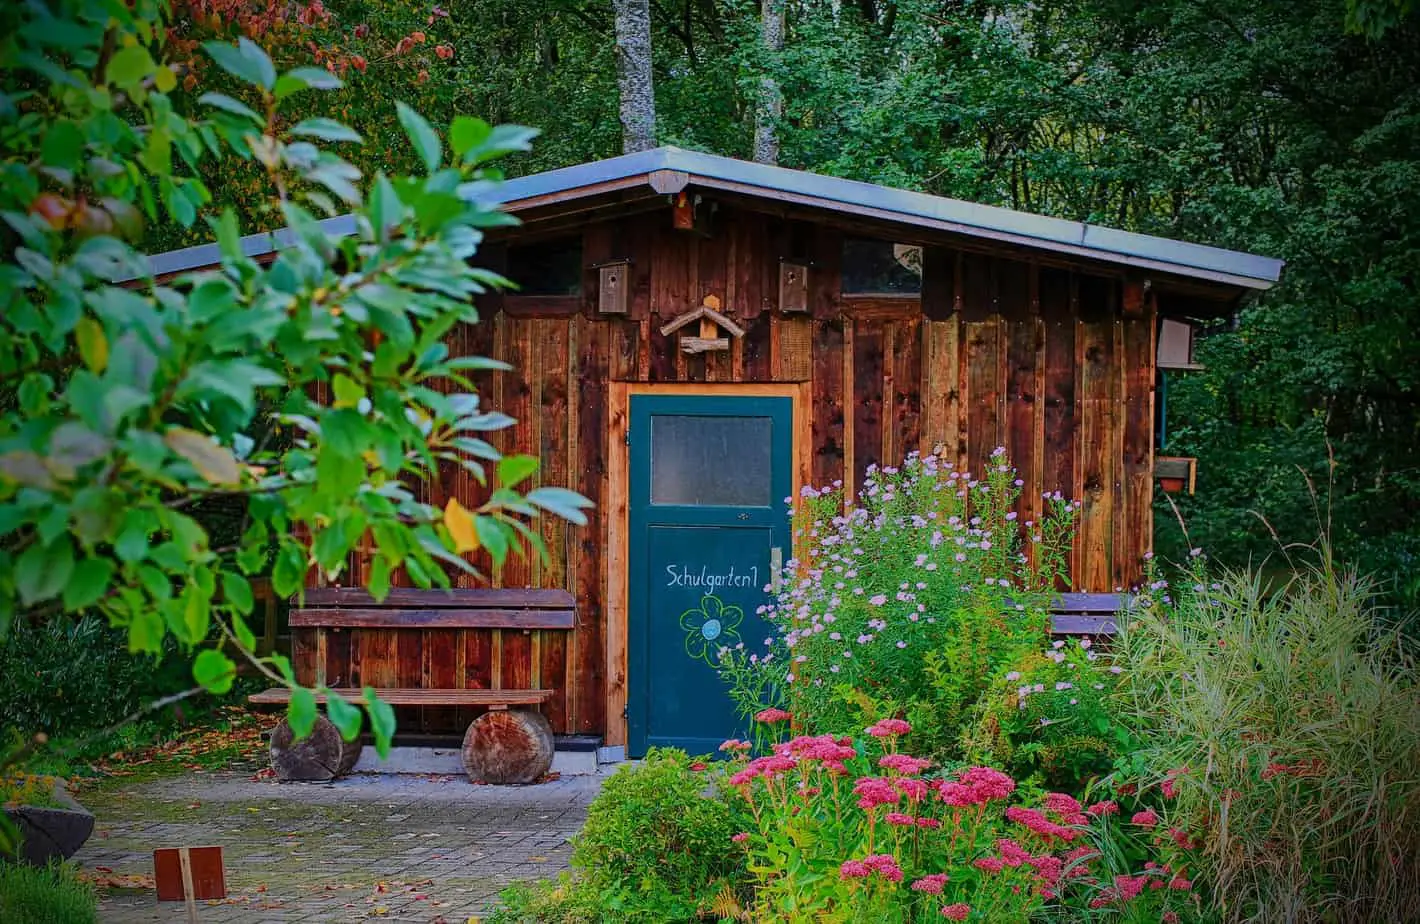
A shed conversion into a home office is the perfect solution to having your own workspace at home. Get some great shed conversion ideas plus how to get it done yourself with an existing shed in your backyard. It’s never been easier or cheaper to DIY!
Transforming your existing shed into an office space requires an idea, good design, solid plan, and the willingness to put in the time it takes to get the project done.
This article offers some great ideas to convert your existing shed into a productive garden office. Plus, we’ll share some expert tips on doing it quickly and for cheap!
10 Steps To For A Shed Conversion Into A Home Office
1. Do The Initial Planning and Check for Permit Requirement
Start your remodeling project by making your initial plan. Building blindly and without a plan can be expensive when things don’t work out. It’s as simple as getting a notebook and a pen, sketching your office interior design, and checking what materials are needed for this rebuilding project.
Once you decided what materials are needed for the build, it’s time to check for the prices online. Local shops might offer more generous deals, so don’t forget to check them out. Count all the expenses and add more funds to your budget (if you’re doing this with a hired hand).
You don’t need a building permit for an existing shed conversion. The only caveat to this is if you’re adding on a lot of square footage or building taller, then you may need to file a permit. Be sure to check with your county to avoid future problems.
2. Prep The Shed (And Surroundings)
It’s time to prepare the shed for the transformation. Examine all the corners and sides for any holes and damages from wear and tear. This will get in the way when insulating an uninsulated space. Repair the cracks by using caulk, wood materials, or other methods, depending on your options.
Remove the items currently stored inside your shed and put them in other available locations. This might take a little while, especially if you have limited working space. Once the shed space is all cleared out and cleaned properly, you can take a look at the overall space available inside your shed.
3. Make Your Interior Outline
For smaller sheds, this part is a no-brainer. That’s because the space of a small shed is often enough for basic office stuff such as small drawers, a computer table, a small coffee table, and an extra bookcase. These materials would often take the entirety of your available space.
But if you have a large shed, a proper interior layout design is necessary. You can fit all your office essentials and add other amenities for your room. For example, you can add a small refrigerator or a drawer for clean clothes if you need to change.
Don’t forget to add a container with all the cleaning supplies (you never know when an accidental coffee spill might happen).
Once all of these are drawn out in a plan, decision making would be a lot easier and hassle-free.
4. Install Useful Utilities Like Electricity
This option is skippable if you already have electricity in your backyard shed. Not all people would have this installed, but it’s a must if you’re using specific devices. If you’re not using wireless internet, you also need to reroute your cables (contact your service provider for this situation).
It’s up to you if you want to extend the water pipes to your backyard shed office. With this option, you will have an easier time getting water in the long run. But it will surely cost more money for the installation.
5. Insulate Your Shed
Insulating a shed is another story and is another topic for a home improvement guide. This step is necessary, as it can prevent your device from weathering damages. Most insulation materials only need a staple gun for installation. Some insulation materials might need specialized equipment. Install your insulation material to your shed based on the manufacturer’s instructions.
The gist of this step is to insulate your shed properly to retain the stable temperature inside your office. Insulate the ceiling and walls completely to reflect the temperature effect outside. Contact a professional for more help in insulating your shed if you are not sure about this step.
6. Use Drywall
Before you can decorate your walls, you must first install drywall on top of the insulation material.
Use drywall that is appropriate to the size of your space. When installing a drywall sheet over a door or a window, let the edges overlap and cut the excess material. This way, the drywall will be fitted perfectly or with minimum gaps. To fill in the gaps, apply a drywall mud compound. And that’s it; you’re ready to go crazy with decorations.
7. Finish Your Walls And Floor
It’s up to you if you want to decorate your walls and floors. You can use wallpapers and carpets to make a more comfortable vibe or paint your interior with a light color for minimal design. If you’re really out of time or resources to beautify the room, a tape on top of the drywall compound should be enough.
For blueboard drywalls, you can check out veneers to finish your walls.
8. Get Your Necessary Furniture
Place your computer or office table near the space where the electrical outlet is installed.
If you don’t want this approach, you can use a power extension cord instead and put your furniture in a more comfortable spot. Make sure to get help from a friend or family if you’re going to move heavy furniture or equipment.
9. Decorate
And last but not least, it’s time to decorate. This step is optional and can be skipped entirely.
But if you’re working in your office throughout the majority of the day, it’s good to have inspiring aesthetic elements in the room. You can just get a houseplant and call it a decoration, or put posters and items that keep you inspired and creative. It’s all up to you, so enjoy decorating your backyard shed office.
10. Other Additions
There might be other things that you like to install, which requires special installation.
For example, you might want to install an additional sound system or acoustic insulation to reduce outside noise. You might also want to install an air conditioning system. All the items in this category will likely require other guides. In this case, it’s best to check the manufacturer’s manual for the best result.
Super Simple Shed Conversion Ideas
Electricity, flooring, and insulation are required to have a productive backyard home office. If your shed doesn’t have these, you’ll need to install them (see below!). These ideas are keeping it very simple by showing you the basic of a home office.
Built In Desk with Flexible Storage

This shed conversion used a fresh coat of paint, wall mount TV, and a lovely built in corner desk plus storage cabinets that can be built and arranged however you want. The ladder leads to a small second floor loft.
Under $1000: Mini Split AC & Track Lighting
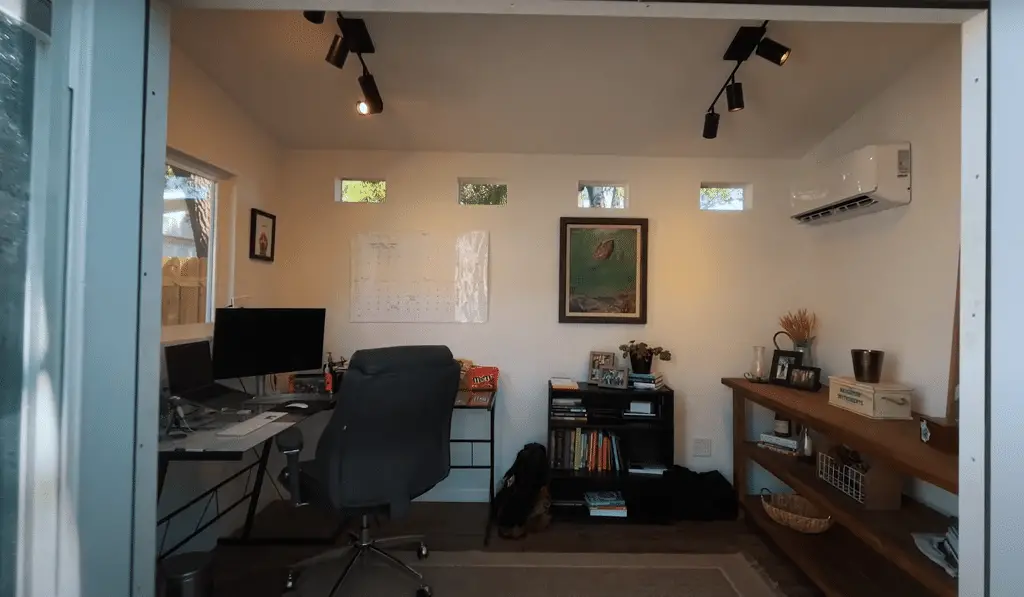
This shed conversion installed a ductless mini split air conditioner which is the best kind of AC you can have. They’re quiet, efficient, have DIY installation. Plus, they can cool down a shed with lightening speed! Hang up some track lighting and put in a few pieces of inexpensive furniture and you’ve got yourself a fully functional home office for less than $1000.
Simple Furniture Keeps Costs Down
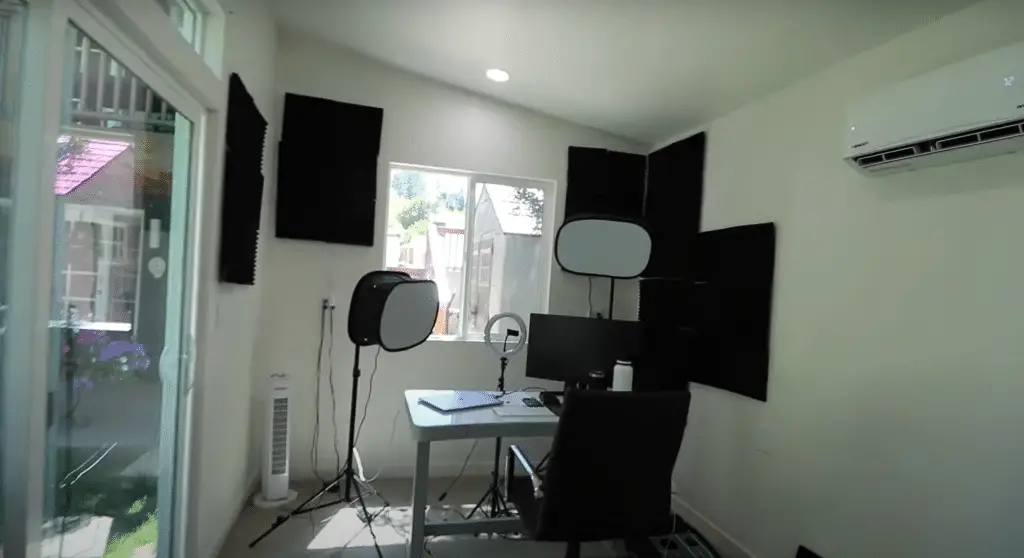
A fresh coat of pain, ductless mini split AC, recessed lighting, and a very simple desk get this home office up and running. Using the bare minimum for furniture and skipping on storage opens up the space and keeps costs down.